How to set up a custom domain
Setting up a custom domain is easy, follow these steps to get started.
1. Login to Cloudflare dashboard
Login (Signup) to your Cloudflare account, and add your domain. Cloudflare will scan your domain and give you the DNS settings and domain server names for last step.
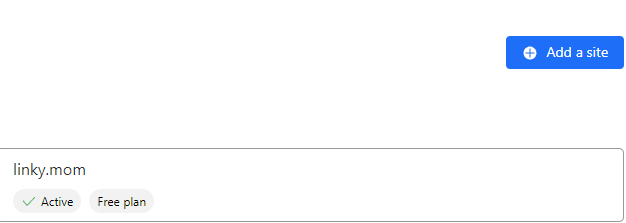
2. Add a domain
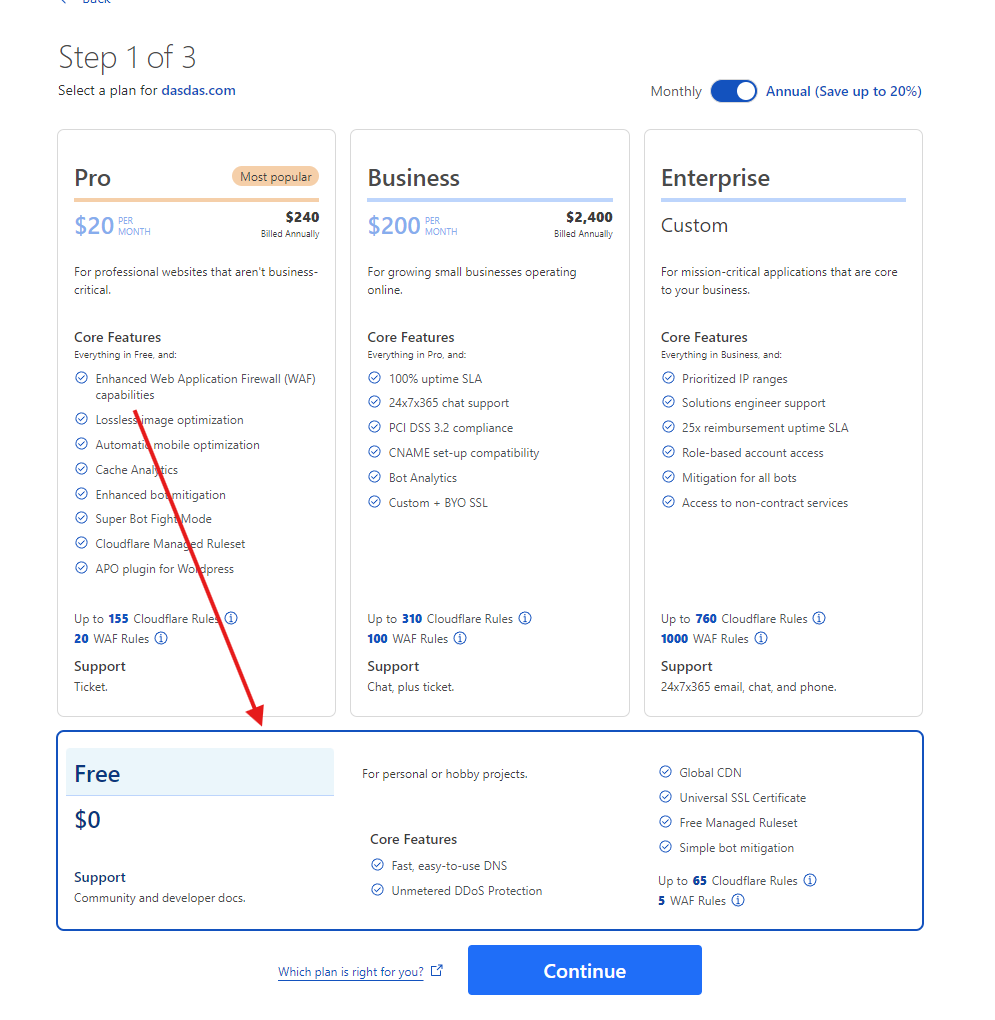
3. Choose Free plan (although recommend Pro plan to get more features, security and support from Cloudflare)
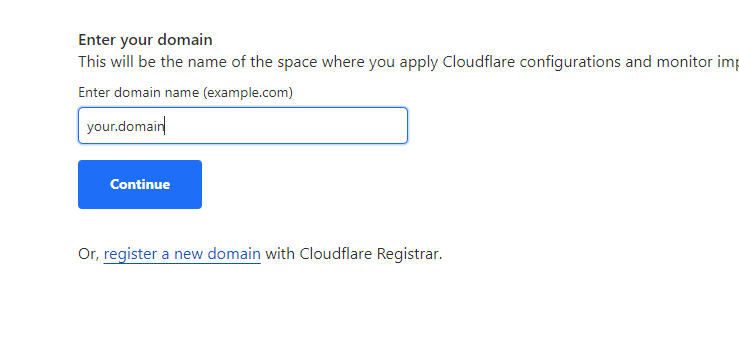
4. Register your domain to Cloudflare
Add CNAME record, request custom CNAME from us. Name - your domain, Content - [provided by us by email], Proxy Status - DNS only, TTL - 1 min. Additionally here you get Cloudflare server names for the last step.
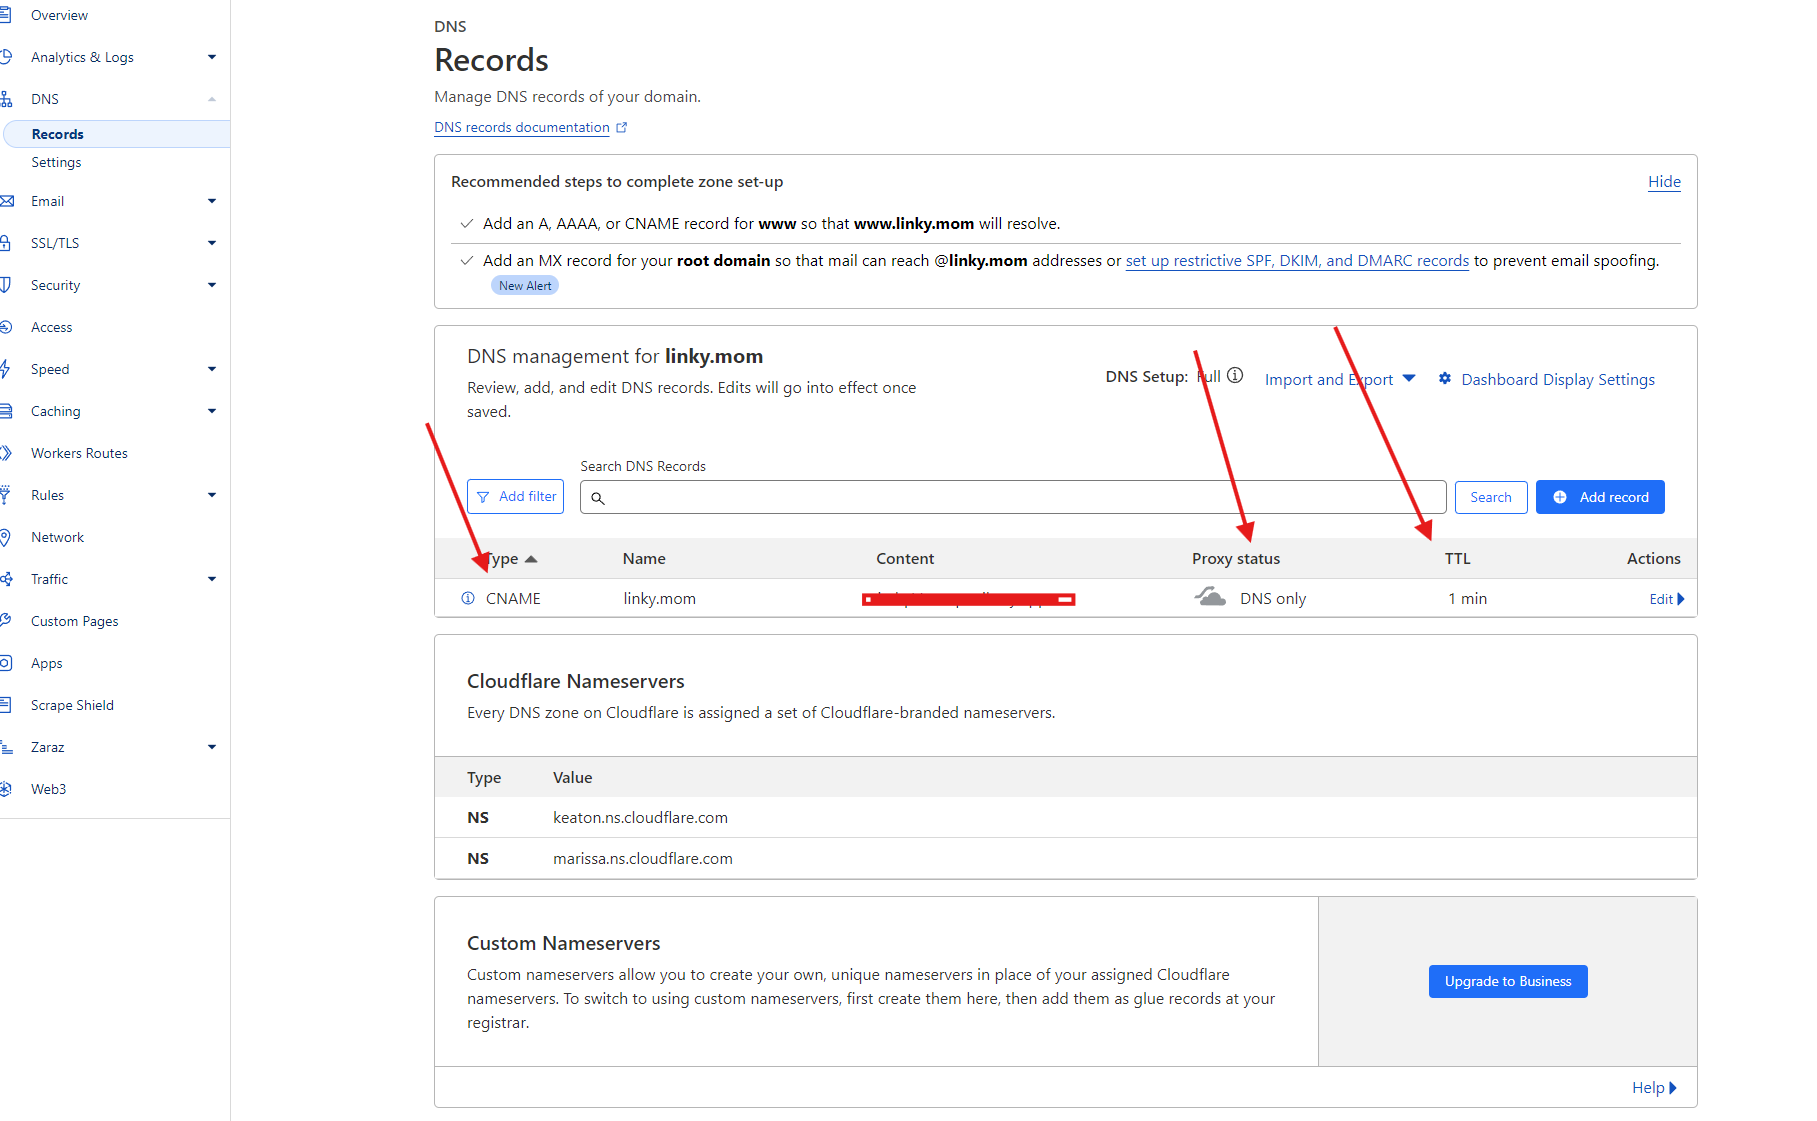
Request custom CNAME for your domain from us (in order to use it with our service). Please provide your domain name, eg. (urly.ws). We will provide you with the CNAME record to add to your Cloudflare domain settings. We are using Railway for our backend, all SSL certificates are provided by them.
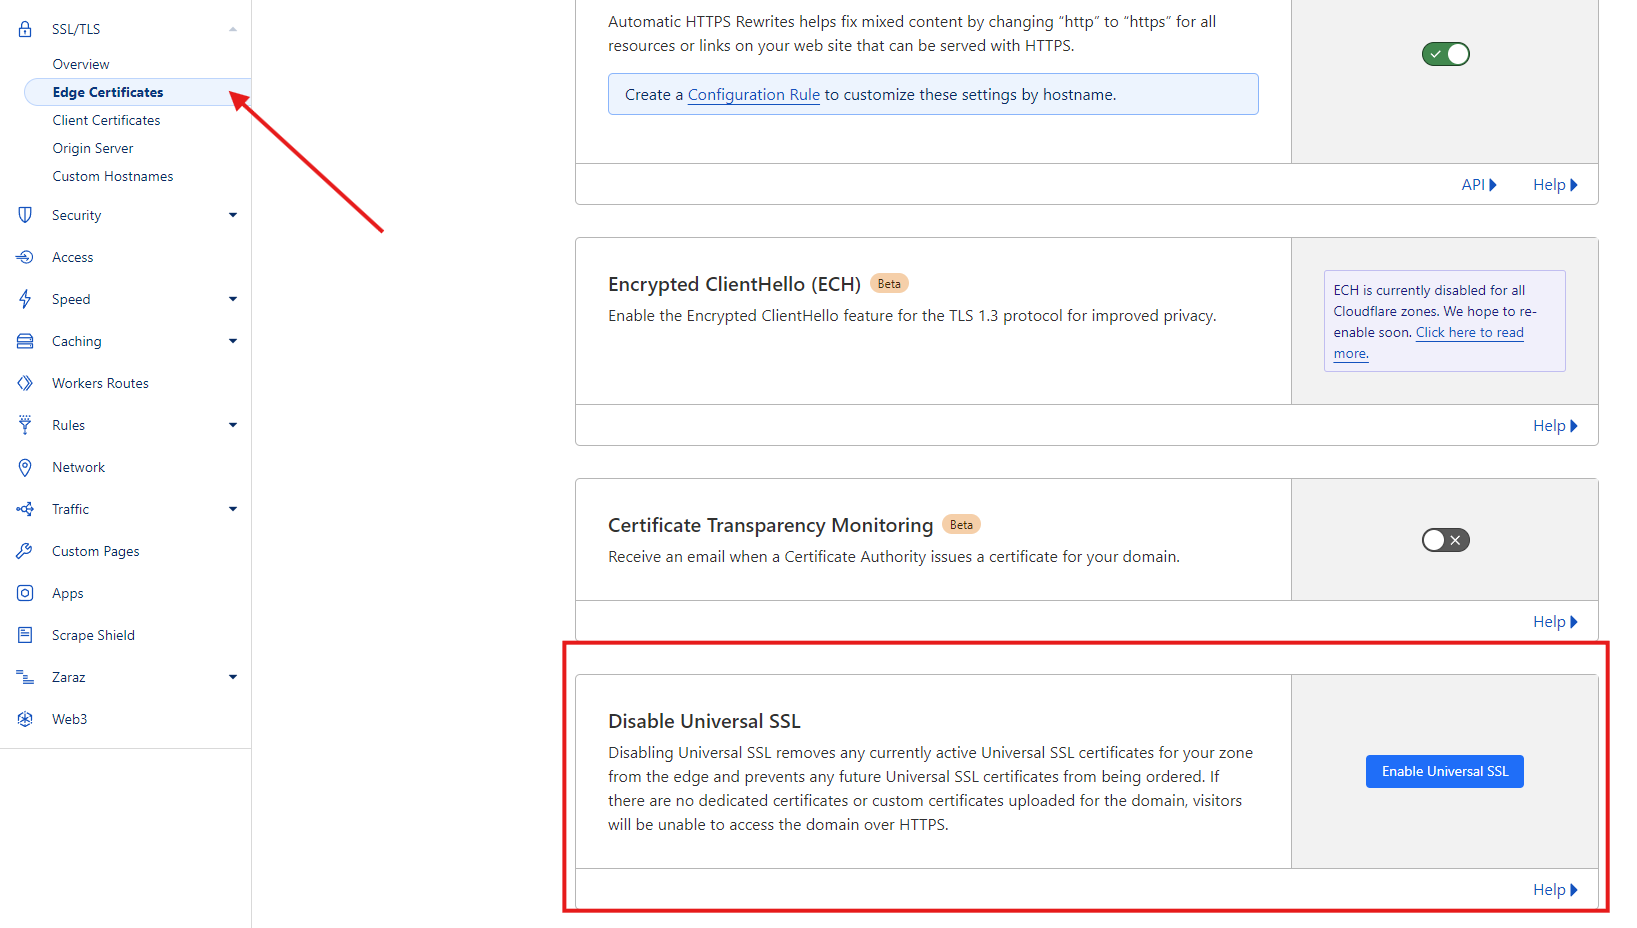
5. Additional settings: SSL/TLS > Edge Certificates
Disable Universal SSL.
6. Additional settings: SSL/TSL > SSL Overview
We recommend turning off SSL encryption, as its already provided by us through Railway.

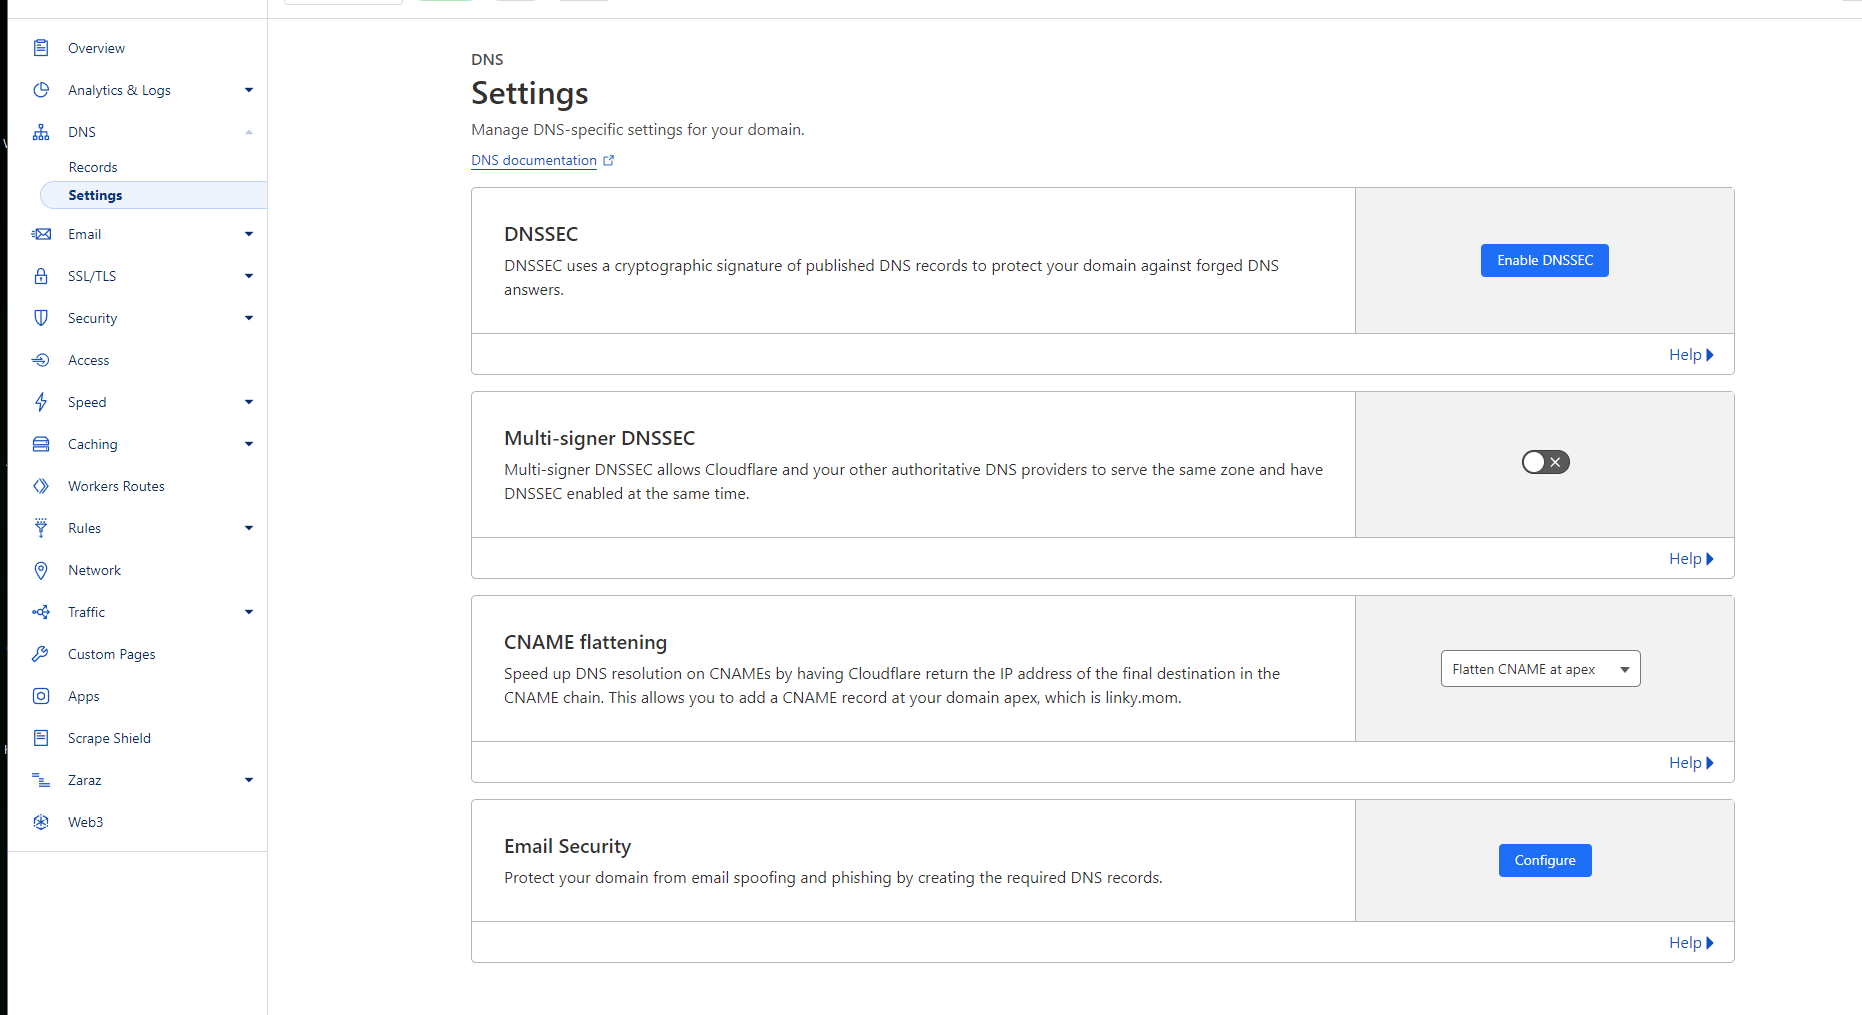
7. Additional settings: DNS > DNS settings
CNAME Flattening put as Flatten CNAME at apex. This will allow you to use your domain without www. prefix.
8. Go to your domain provider (eg. namecheap, godaddy)
Open your domain provider's website, log in to your account and open your domain settings.

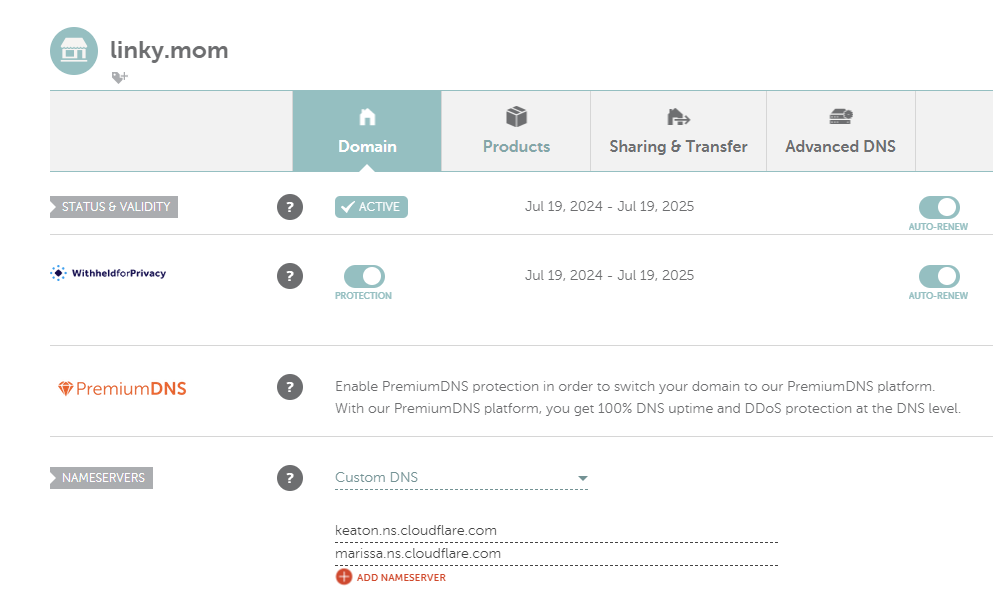
9. Change DNS settings
Let's move your domain server to Cloudflare DNS. Cloudflare will give you domain names, such as: keaton.ns.cloudflare.com, marissa.ns.cloudflare.com.
10. Success
After all these steps, you should be able to use your domain with our service. Note that it may take up to 48 hours for the changes to take effect.